
Transform your home into a personalized haven with DIY art projects. Start with high-quality canvas for vibrant wall art—blend colors while wet for dynamic effects. Experiment with acrylics and palette knives for abstract paintings, layering for texture, and custom shades. Get creative with handmade wall hangings and use macrame or woven textiles for intricate designs. Repurpose mason jars into chic candles or storage, and upcycle old furniture with fresh finishes. Paint flower pots with stencils and weatherproof spray, and craft custom photo frames using mixed media. Each project adds unique touches to your decor, making your space truly one-of-a-kind.
Wall Art With Canvas
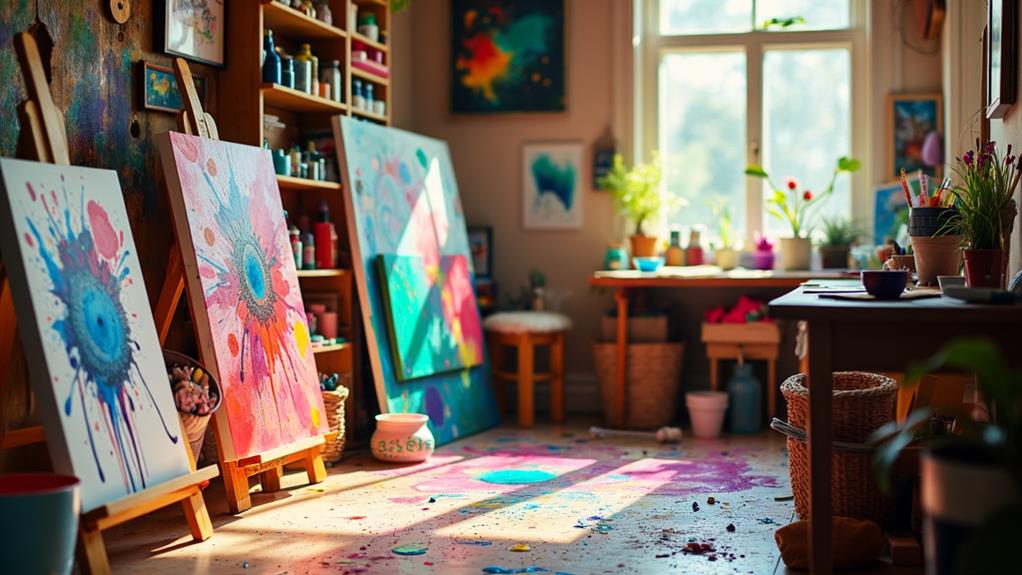
Creating wall art with canvas can truly transform a space, and it’s easier than you might think. Start by selecting a high-quality canvas size appropriate for your wall. Choosing the right canvas is essential as it affects the durability and final appearance of your artwork.
First, prepare your workspace by laying down a drop cloth to protect surfaces from paint spills. Guarantee adequate ventilation to avoid inhaling fumes.
When you’re ready, think about the canvas techniques you’ll use. One effective method is color blending, which creates a dynamic and visually appealing effect. Begin with a base color, applying it evenly across the canvas.
Next, while the base is still wet, introduce a second color. Use a soft brush or sponge to blend the colors seamlessly. This technique can create gradients or abstract patterns, adding depth to your art. Practice blending on a test canvas if you’re new to this to guarantee you achieve the desired effect.
Remember to secure your canvas on an easel to maintain stability while painting. Safety is paramount, so wear gloves and a mask if using oil paints or strong chemicals.
With these tips, you’ll create stunning wall art that enhances any room.
Decorative Mason Jars
Decorative mason jars offer an endless array of possibilities for adding charm and functionality to your home decor. One popular project is creating mason jar candles.
Begin by selecting a heat-resistant jar and a suitable candle wick. Secure the wick in the center using a bit of melted wax or a wick holder. Melt your choice of wax—soy, beeswax, or paraffin—using a double boiler to guarantee even melting and safety from direct heat.
Once the wax reaches the proper temperature, carefully pour it into the mason jar, guaranteeing the wick stays centered. Allow the wax to cool and harden completely before trimming the wick to about a quarter-inch. Add a decorative lid to give your mason jar candle a polished look, and remember to never leave candles unattended to guarantee safety.
For an added touch, you can use decorative lids to transform mason jars into functional storage containers. Simply paint or adorn the lids with fabric, ribbon, or other embellishments.
These jars can then be used to store anything from pantry essentials to craft supplies, adding both style and organization to your space. Always handle tools and materials with care to avoid accidents.
Custom Photo Frames
After mastering the art of decorative mason jars, you might be interested in another creative DIY project: custom photo frames.
Start by gathering old or unused frames, ideally ones that could benefit from a vintage frame restoration. Carefully sand down any rough edges and remove old paint or varnish using a non-toxic, eco-friendly paint stripper. Verify you’re working in a well-ventilated area and wear protective gloves.
Next, consider incorporating mixed media photography to add a unique touch. Print your favorite photos on high-quality paper and gather materials like fabric scraps, dried flowers, or small trinkets. Arrange these elements around the photo before securing them with a strong adhesive.
For a cohesive look, paint the frame in a color that complements your mixed media elements. Use acrylic paint for its durability and ease of use. Apply thin layers, allowing each coat to dry completely before adding the next.
Once your frame is painted, seal it with a clear, non-toxic sealant to protect your work.
Painted Flower Pots
Transforming ordinary flower pots into vibrant, personalized pieces is a rewarding DIY project that adds character to any garden or indoor space.
Begin by selecting terracotta or ceramic pots, as they provide a sturdy canvas for your creative endeavors. Clean the pots thoroughly, guaranteeing no dirt or residue remains. This step is essential for paint adhesion and longevity.
Next, apply a base coat of acrylic paint using broad, even strokes. Once dry, you can release your creativity by incorporating colorful patterns or seasonal themes. For a summer vibe, think about bright, sunburst designs, while fall motifs could include warm browns and oranges with leaf patterns. Use painter’s tape to create crisp lines or stencils for intricate designs.
Safety is paramount, so make certain you’re working in a well-ventilated area and using non-toxic paints. Wear gloves to protect your hands from prolonged exposure to paint.
After painting, let the pots dry completely, preferably for 24 hours. Seal your artwork with a clear, weather-resistant spray sealer to protect against the elements.
Handmade Wall Hangings
Creating handmade wall hangings offers a fantastic way to add a personal touch to your home decor.
Begin with macrame wall hangings, a versatile option that can fit various styles. Use natural cotton cords and follow simple knotting techniques for a safe and satisfying crafting experience.
For fabric wall art, select high-quality textiles and a sturdy frame. Securely staple the fabric to the frame, guaranteeing tight, even tension. Experiment with geometric designs to create visually striking minimalist wall pieces.
Woven tapestries are another excellent choice. Invest in a loom and choose soft, durable yarns. Follow basic weaving patterns to create intricate, nature-inspired decor.
When working with sharp tools, always prioritize safety by keeping your workspace organized and your tools properly maintained.
For seasonal wall decor, incorporate elements like dried flowers or autumn leaves. Use adhesive hooks to hang them securely, avoiding heavy objects that could fall.
Textile wall sculptures add depth and dimension. Choose lightweight materials and make certain they’re securely fastened to avoid accidents.
Repurposed Furniture Art
When it comes to repurposed furniture art, you’re not just recycling old items; you’re giving them a new lease on life with a creative twist.
Begin by selecting sturdy pieces that have good bones. Old dressers, chairs, and tables are perfect candidates. Sand them down to remove any rough edges or old paint—this will guarantee a smooth surface for your upcycled designs.
Next, choose a theme or color scheme that complements your home’s decor. Use non-toxic paints and sealants to keep safety in mind, especially if you have kids or pets. For furniture transformations, consider adding stencils, decals, or even fabric inlays for a unique touch.
Replace old hardware with modern knobs and handles to elevate the look. If you’re converting a dresser into a chic kitchen island, add wheels for mobility and extra storage hooks. For a vintage chair, reupholster the seat with durable fabric to match your style.
Always wear protective gear like gloves and masks when working with tools and chemicals.
DIY Abstract Paintings
Diving into the world of DIY abstract paintings can be incredibly rewarding, offering both a creative outlet and stunning decor for your home. Start by gathering your materials: quality acrylic paints, canvases, brushes, a palette knife, and a mixing palette.
When it comes to color mixing, don’t be afraid to experiment. Blend primary colors to create custom shades that suit your aesthetic. Always mix small amounts first to test the outcome before committing to larger quantities.
Texture techniques can add depth and interest to your artwork. Try layering paint thickly using a palette knife, or employ sponges to dab on color for a more nuanced effect. Another technique involves adding modeling paste to your paint to create raised, three-dimensional textures.
Make certain you’re working in a well-ventilated area, and always read the safety labels on your materials.
Work in sections, allowing each layer to dry before adding more. This prevents colors from becoming muddy and gives you control over the final appearance. Protect your workspace with drop cloths, and use gloves if you’re handling strong pigments.
With patience and creativity, you’ll create unique, eye-catching pieces that reflect your personal style.
Personalized Doormats
Now that you’ve explored the vibrant world of DIY abstract paintings, let’s turn our attention to another creative and practical project: personalized doormats.
You’ll start by choosing a durable coir or rubber mat that can withstand outdoor elements. Gather your supplies: outdoor acrylic paint, stencils, painter’s tape, and brushes.
First, make sure your workspace is well-ventilated and lay down a protective sheet. Secure your mat on a flat surface, and use painter’s tape to outline the area you’ll paint. For a welcoming message, select stencils spelling out “Welcome” or any custom greeting. Tape these stencils firmly to avoid smudges.
Opt for outdoor themes like floral patterns or geometric designs to add a touch of nature to your entryway. Apply the paint using a stippling technique, which involves gently dabbing the brush to prevent bleeding under the stencil. Allow each layer of paint to dry completely before applying a new color.
Once the paint is dry, carefully remove the stencils and tape. To guarantee longevity, seal your artwork with a clear, weather-resistant spray.
Your personalized doormat is now ready to greet guests, combining safety and style at your doorstep.
Creative Shelving Units
Are you ready to transform your living space with some practical yet artistic flair?
Let’s plunge into creative shelving units that combine functionality with stunning design. Floating shelves are an excellent choice if you’re aiming for a minimalistic style. They create an uncluttered look and can be installed using secure wall mounted options. Make sure you use durable brackets to maintain safety and stability.
Consider geometric designs for a modern twist. Hexagonal or triangular shelves can become a focal point in any room. For a cozy, welcoming vibe, opt for rustic finishes. Wood with natural grain adds warmth and character.
Don’t forget about color coordination. Matching your shelves with the room’s color palette enhances visual harmony. Multi functional storage solutions are essential for maximizing space. Think about incorporating adjustable heights to accommodate different items over time.
Themed arrangements can add a unique touch. Whether you’re displaying books, plants, or collectibles, organizing them by theme makes a stylish statement.
Decorative brackets can also elevate the overall look, turning simple shelves into art pieces.
Upcycled Home Décor
Transforming discarded items into charming home décor can be both eco-friendly and creatively fulfilling. Start by exploring the potential of upcycled textiles. Old fabric scraps, such as denim or burlap, can be repurposed into decorative throw pillows or unique wall art.
To guarantee durability, double-stitch seams and use fabric glue for added security. For a more intricate project, consider weaving strips of fabric into a colorful rug. It’s not only a sustainable choice but also a way to add a personal touch to your space.
Next, let’s investigate the world of reclaimed wood. Old pallets or barn wood can be transformed into stunning pieces of furniture or decorative accents.
Safety first: always sand down the wood to remove splinters and apply a non-toxic sealant to protect against pests and decay. Create a rustic coffee table by attaching sturdy legs to a reclaimed wood top.
Alternatively, craft a beautiful wooden wall shelf by mounting sanded and sealed planks with heavy-duty brackets.
Conclusion
In the tapestry of your home, each DIY art project is a thread weaving together creativity and personal expression. From vibrant painted flower pots to unique custom photo frames, you’ve crafted a sanctuary that’s truly your own. Embrace these projects as symbols of your ingenuity and passion. Each piece, a reflection of your hands’ work, transforms your space into a gallery of personalized beauty. Keep creating, for your home is the canvas of your life.